UPDATE 2007-03-16:
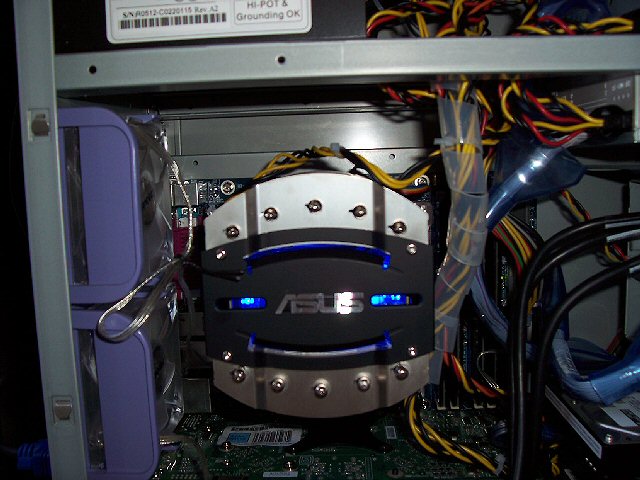
I have noticed from my site logs that people are arriving on this page, looking for instructions on how to install CPU heatsinks in general, and the ASUS Silent Square 92mm in specific, since this original page went up on 2006-04-28. That is a problem for 2 reasons, (okay, well 3) 1.) this is not an instructional site, it is just kind of a photographic history of what I did with one of my pc building projects. 2.) this project was done wrong! and, 3.) the ASUS product in question on this page, DIED on me after 7 months (the fan stopped working reliably) -- and I had to replace it. I replaced it with the ZALMAN CNPS9500 AT 2 Ball CPU Cooling Fan/Heatsink if you wanted a recommendation.
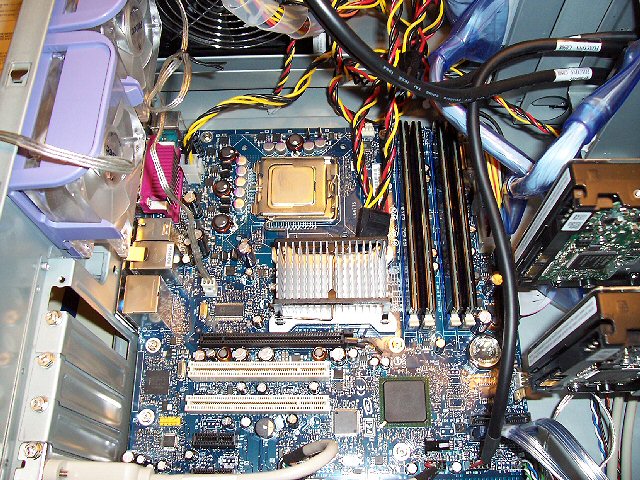
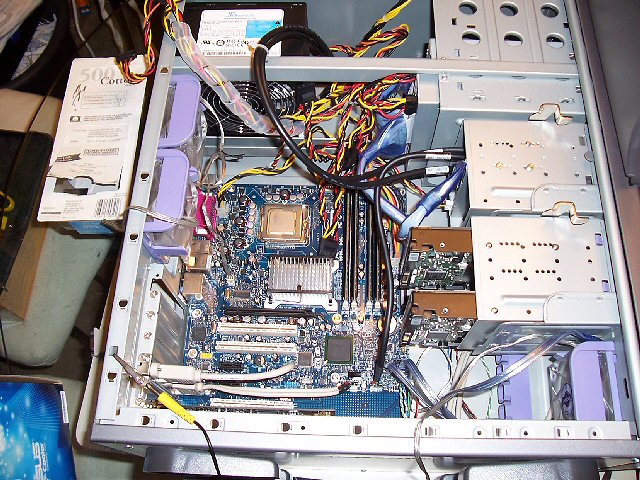
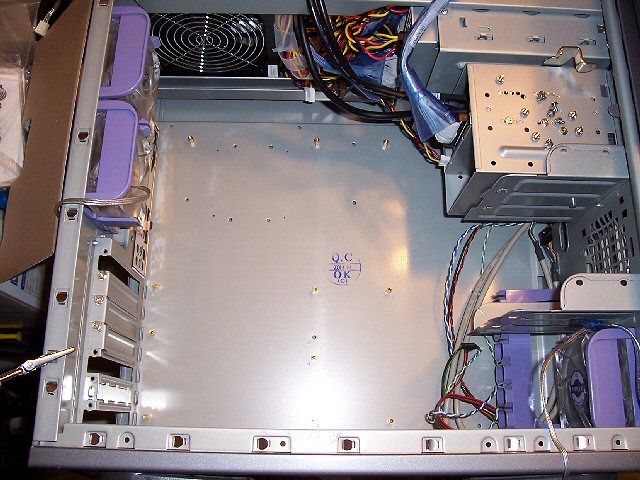
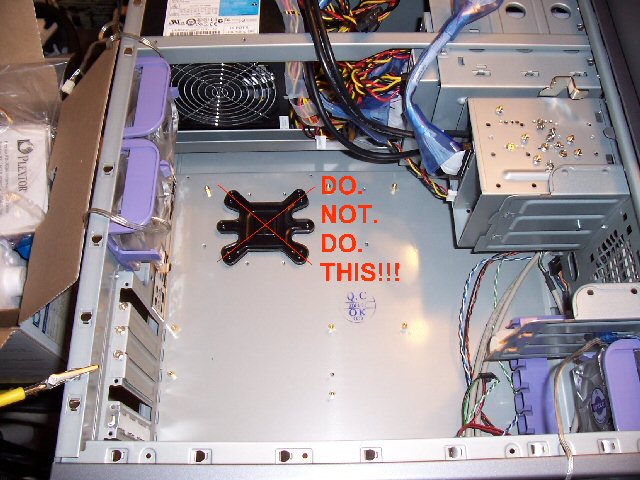
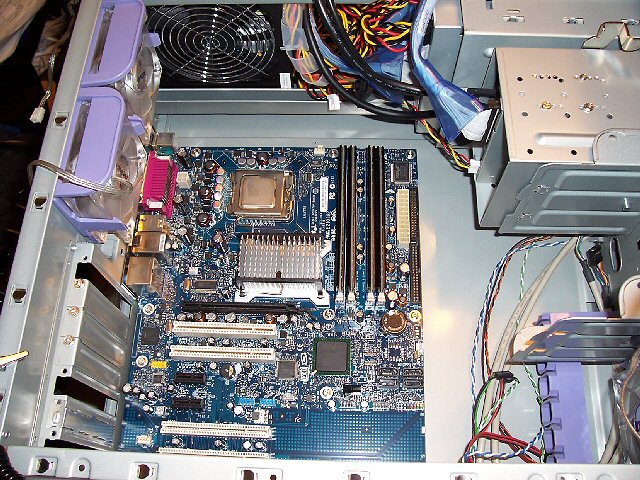
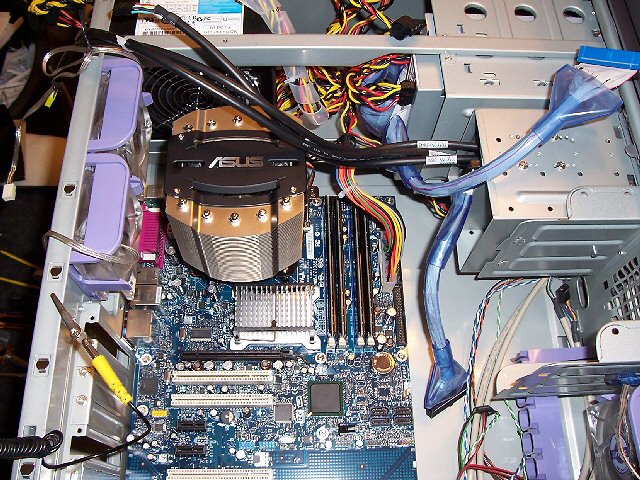
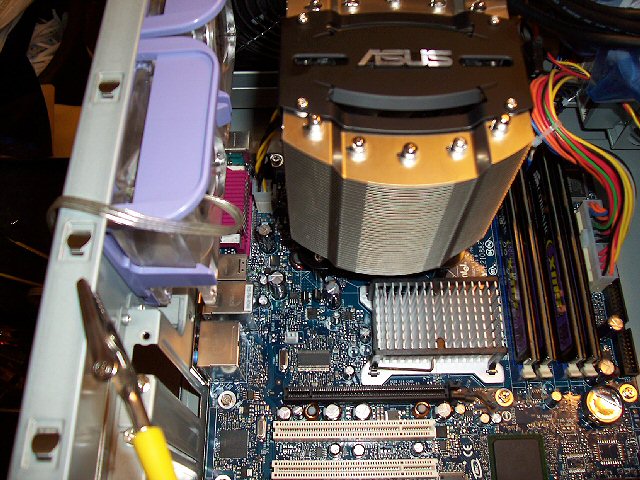
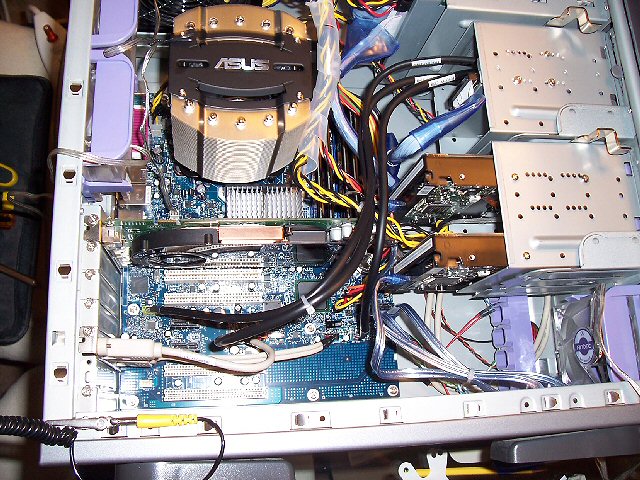
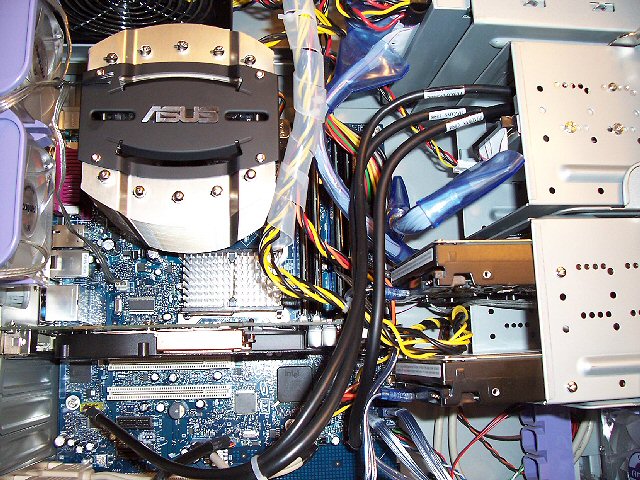
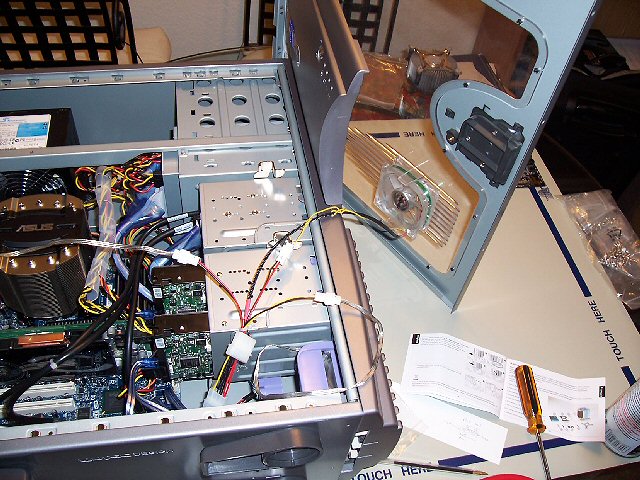
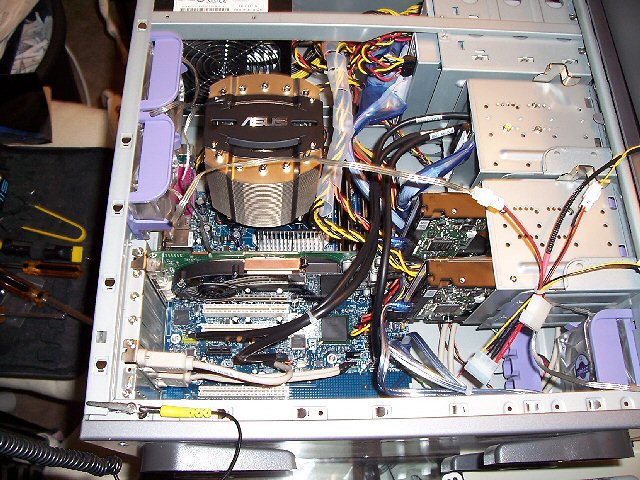
Anyway, I have photos from that install too, and I may put up a guide for that one. But, for those of you wanting a guide to help you install your ASUS Silent Square 92mm CPU Cooling Fan/Heatsink, here is what you do (and you can use most of the pictures from below, as a reference to these following instructions. Note: the unit requires a backplate be affixed to the back of your motherboard, STICKY SIDE ONTO THE MOTHERBOARD! Do NOT, I repeat NOT do what I did in the pictures below, and affix the sticky side to the wall of your case! The instructions that come with the unit, are NOT clear on this point (at least, they weren't to me, with the instructions that came with my unit). Anyway, to get to the back of your motherboard, you are basically going to have to disassemble your entire PC, so, here are the steps:
Note: this is free advice, but this advice comes with a disclaimer, neither I (or my company: ASDG) accept or assume any responsibility for how you use this advice. Use this advice at your own risk. If you don't know what you are doing, then seek professional help. These tips are for those who are already comfortable with working on their PCs, and know about the inherent risks! Following these tips incorrectly, or without the proper skill or knowledge, or even with a heavy dose of bad luck, can and will result in the complete destruction of your PC -- heck, I almost fried my own PC by doing this WRONG the first time, and I have built dozens of PCs! You will be working with all aspects of your PC, including the 2 most sensitive parts, the Central Processing Unit (CPU), and the Motherboard (MoBo). By following these tips, you, and you alone, are assuming all risk, and responsibility for your actions, and agree to hold myself, and my company harmless, without fault, non-liable, etc. etc. These tips contain no warranty (not even for basic functionality of goods or services), void in all states, caveat emptor, etc. etc. You. Are. On. Your. Own!
- If available use a static free work mat to do all your PC work on. If not available, choose a table away from static electricity sources (such as carpet). If you can, leave your PC unit's wall plug plugged into your power supply, it provides additional grounding to the PC, in case something goes wrong (with the power OFF of course). Also if available, use a static discharge bracelet while working on your PC. A single static discharge in the delicate silicon boards of your PC, can completely hose it. If you don't have a bracelet, make sure you touch something metal (non-painted metal) before touching anything inside the case. The case itself will do, in a pinch.
- Unhook all of the components to your PC, that will need to be removed so you can remove your motherboard. For me, that generally means everything, for you, you may be able to just disconnect the cables to your HDDs and your Optical drives, etc, and still be able to remove your MoBo. Place all components in a safe, stable, and static free area, the table you are working on should be fine. While you are doing all of this, you should also take the opportunity to maybe use a can of compressed air to dust out your PC -- they can use that every 6 months or so.
- Once everything is unhooked, unscrew the screws holding your MoBo to the standoffs in your case, and place all of the screws in the same place, and you may also want to note their positioning, as you unscrew them, especially if you don't have a standard layout, or the full amount of screws (all 4 corners, and at least 1 center screw should be screwed in when you replace the MoBo -- if you don't have at least 5 screws to secure the MoBo, you should run up to your nearest computer parts store and pick some up, you will be happy you did.
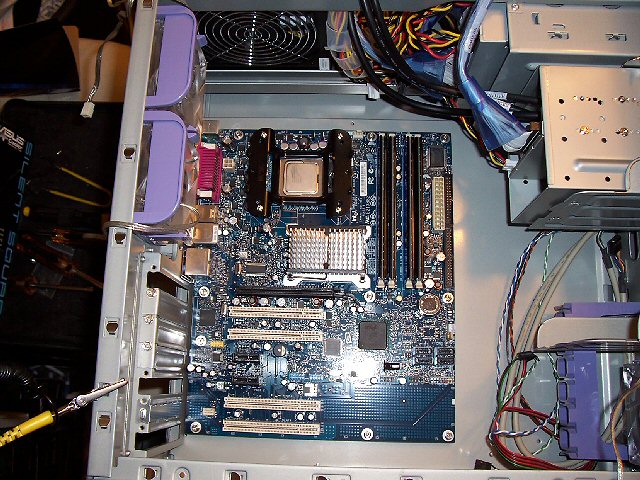
- Now comes the tricky part, and the part I did WRONG in the photos below (#4 specifically). Take the backplate for the ASUS cooling unit (it has the adhesive sticker cover on it),and line up the holes in the backplate to the holes in your MoBo, if you have a compatible MoBo, they should line up. You CAN line it up in the same DIRECTION (horizontal) that I did in the photo, just make sure that you affix the sticky side to the MotherBoard, and NOT the case itself. Warning, before you do this, understand that the adhesive is PERMANENT! IT WILL NOT be coming off of that MoBo again, not without damaging it. I found this out when I pried mine from my case wall, and had to order a new one, and again when I wanted to install my new Zalman, found out that I couldn't get the ASUS backplate OFF of the MoBo (The Zalman uses a much nicer backplate, without adhesive, for your records.)
- Once the backplate is aligned, remove the adhesive cover, and press firmly on the backplate with the sticky side towards the MoBo's back, aligned with the holes, and affix it.
- Now, you can re-screw the MoBo back into place. If you haven't already, undo and remove your old CPU's heatsink and fan. To clean up the thermal paste, my good friends at the User Friendly forums (whom are all very knowledgeable about these things) recommended I use rubbing alcohol, and cotton swaps (q-tips) to clean it up, and that combo works great! Just go easy on the rubbing alcohol. Once done cleaning, allow the CPU top to air out a bit (alcohol evaporates fast, so you shouldn't need to wait long)
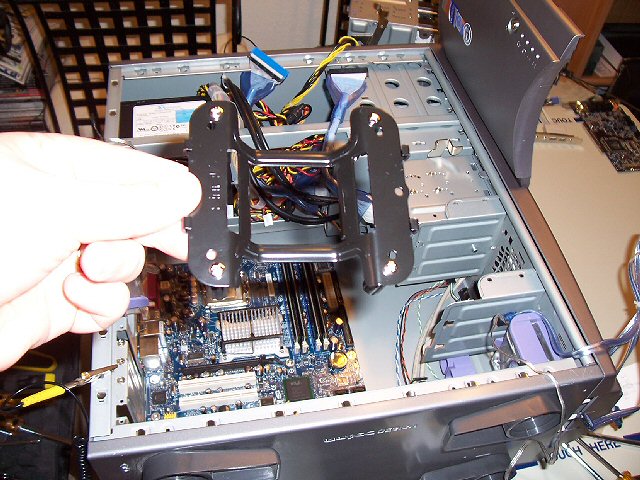
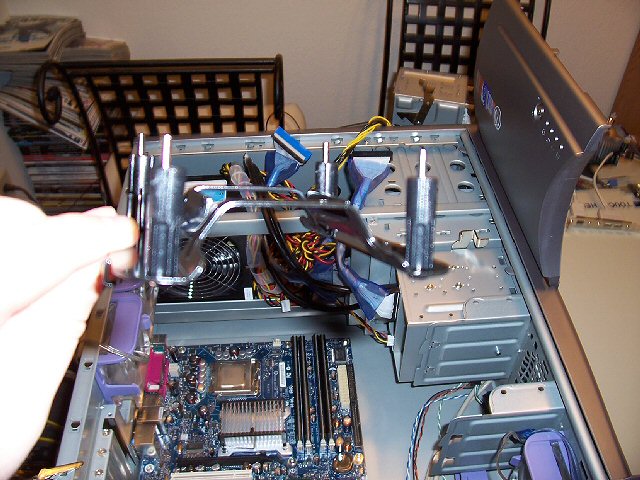
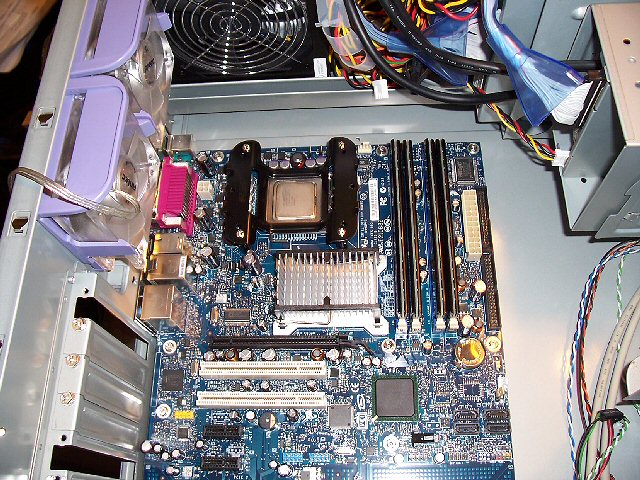
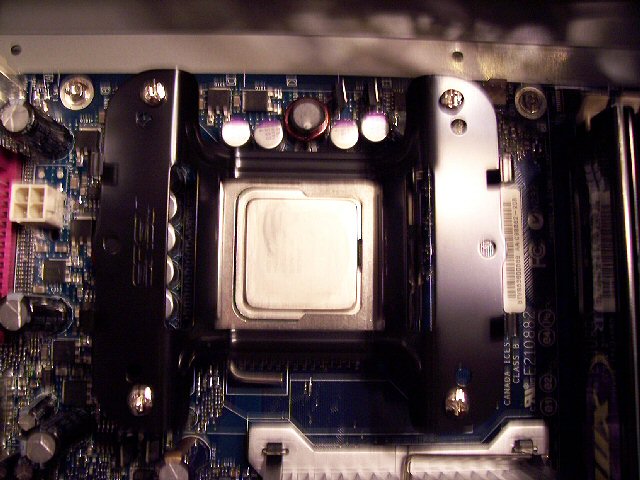
- Next step, install the retention bracket, and stand-offs. It is fairly simple to do, see pictures 6-8 below, simply slide the standoffs onto the screws for the bracket, after threading the screws into position in the bracket. Then simply screw the bracket into place, into the MoBo, through the holes in the MoBo, into the backplate under it.
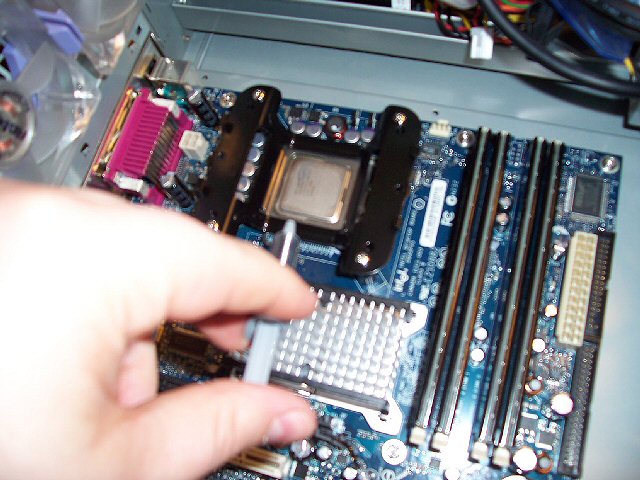
- Next, apply your thermal paste onto the top of your CPU. Follow the directions for your paste, and only use the recommended amount. Place it as close to the center as you can (when you put the heatsink on, you will be able to spread it out).
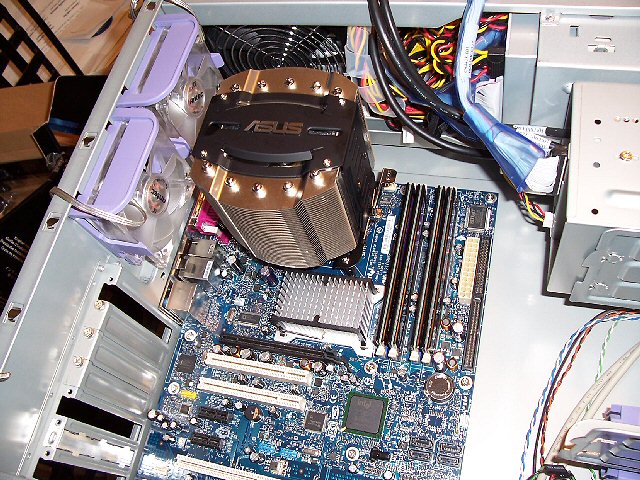
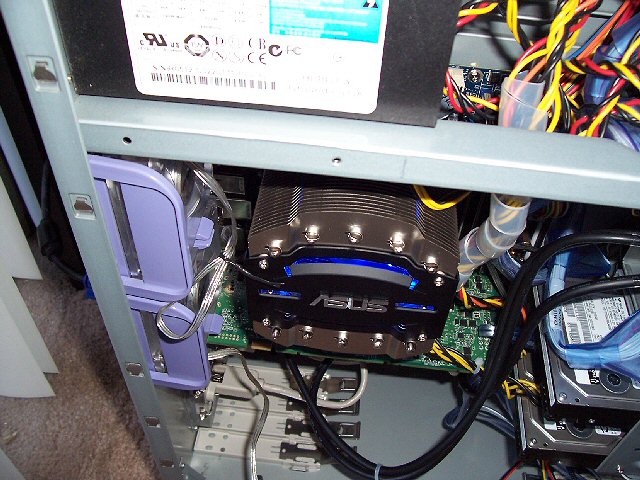
- Now comes the tricky part. If you case and MoBo are like mine, hook up the 4 pin power connection to the MoBo BEFORE you install the heatsink, as the thing is massive, and makes it hard to do afterward. Now, align the unit so that arrows point to either your back case fans, or the fan on your power supply (if you have a power supply like mine, that has a bottom side air intake fan). Place the unit gently onto the CPU's top, and gently twist/rotate it counter and normal clock-wise, to help spread around the thermal paste below it.
- Finally, the trickiest part, get the clip that came with the unit, and push it under the unit, aligning the STIFF end to the side closest to the rear case wall, and the side with the joint to the side closest to where you have the most hard and maneuvering room. Put the stiff side of the clip into the 2 pins/grooves inside the unit, and then swing IN the movable part of the clip, and get the other side to snap into place on the retention bracket. I had to use a mild amount of gentle force to accomplish this, for my install.
- Once the clip is in place, all that is left to do is attach the power cable to the power connection for the CPU fan on the MoBo, and you are done. Congratulations, and I hope your fan doesn't die on you, like mine did.
